Windows Live Admin Center (changed from Windows Live Custom Domains in November 2007) is a service provided by Windows Live. It enables users with domain names to change their domain MX record (Mail Server) so that they can enjoy the full features of Windows Live Hotmail on their personalized domain.
Email accounts provided by Admin Center are Windows Live IDs and you can use them to sign into MSN Messenger and Windows Live Messenger and all other Windows Live ID enabled services.
One Windows Live ID can be set as the administrator and using that ID new accounts can be created, and old ones can be deleted or edited on that domain. The administrator may also choose to allow anyone to create his or her own account in the domain via a link on the domain’s web site. Administrators can choose from a web-based or Windows-based application to manage all aspects of their domain accounts.
Users with Admin Center accounts can check their emails using Windows Live Hotmail, Windows Live Mail, and Outlook.
(Source: Wikipedia)
This tutorial will show you step by step How to Configure your own domain with Windows Live Admin Center.
Prerequisites:
– You’ll need an ASPnix Hosting Account to be able to configure domains via Control Panel
– To use ASPnix DNS, please make sure your domain is pointing to
ns1.aspnix.com
ns2.aspnix.com
ns3.aspnix.com (optional, recommended for non-US clients)
Step 1
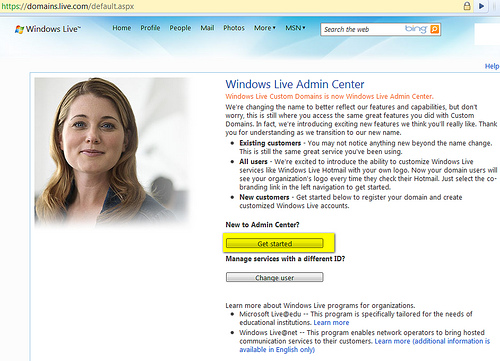
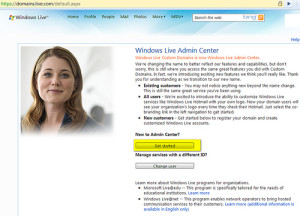
Go to Windows Live Admin Center site and sign in with your Windows Live ID.
Click “Get Started”
Step 2
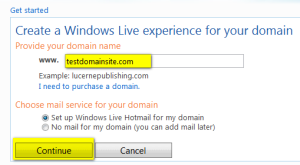
Provide your domain name and click Continue
Step 3
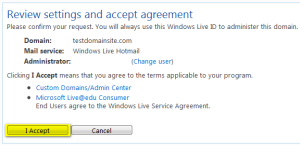
Review settings and Accept Agreement
Step 4
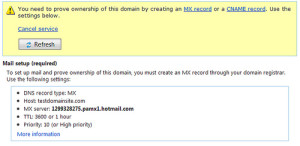
You will see a page similar to this below. You will work with “MX Server” under Mail Setup category.
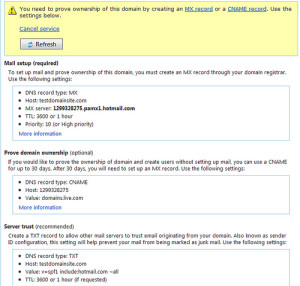
Step 5
Now we need to add MX Server record into your Domain’s DNS
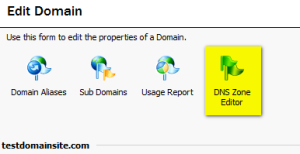
a. Login to Hosting Control Panel at http://cp.aspnix.com
b. Navigate to Domains > choose your
c. Click DNS Zone Editor
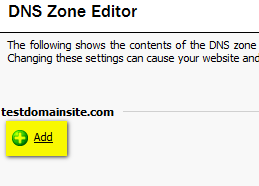
Step 6
a. Click Add button to Add “MX Server” Record
b. Choose MX Record and click Next
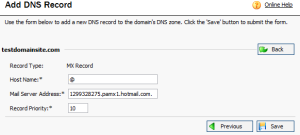
Step 7
You will need to enter 3 records: “Host Name”, “MX Server”, “Priority”
a. Enter @ sign into Host Name. This will create a record with just your domain.
For example, “testdomainsite.com”. If you enter “testdomainsite.com” into host name, DNS will create
incorrect record and it will look like this: “testdomainsite.com.testdomainsite.com”, to avoid this
just enter an @ sign.
b. Copy and Paste your MX Server from page on Step 4
NOTE: Make sure to put a period “.” at the end of the MX Server record.
c. Set Priority to “10” and click Save
Step 8
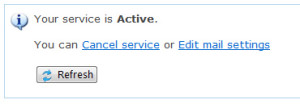
Back to Windows Live Admin page and click Refresh
If Step 7 was added correctly you will see that your Domain is now Active
Step 9
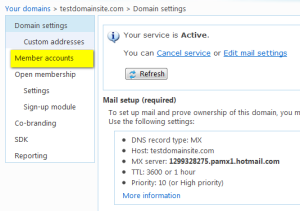
Your Domain is now added to Windows Live Admin and it’s time to create an Email Account
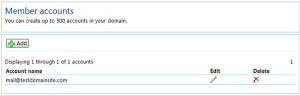
Click “Member Accounts”
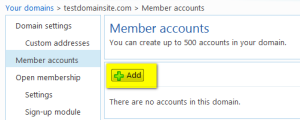
Step 10
Click “Add” to add new account
Step 11
Once you created new account you will see confirmation
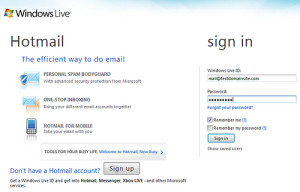
Step 12
Your Domain has been configured and you should be able to login at http://mail.live.com
Optional Step 13
If you want to use your own domain to login such as http://mail.testdomainsite.com
a. On the left click “Custom Addresses”
b. Click Add, Enter “Mail”
c. Similar to Step 5, In DNS Zone Editor in Hosting Control Panel Add CNAME Record “Mail” pointing to “go.domains.live.com”

If you liked this Tutorial, please leave your feedback in comments.
Comments are closed.